Communication Actions⚓︎
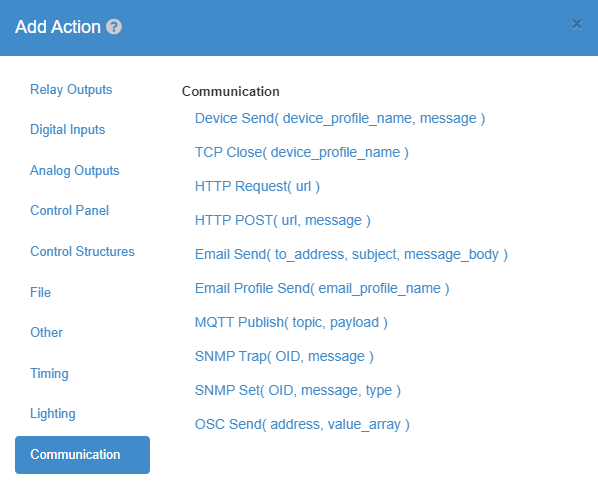
Device Send⚓︎

The Device Send Action lets you declare a device in the Device tab and send it data. In the action, the first value you declare is the device you want to send to. This field is a dropdown of all the current devices in the device tab. The second value you declare is the data you want to send. The next value is a checkbox. This checkbox tells Tasker to listen for a response or not from the device being sent to. Tasker will listen for 2 seconds for a response. If no data is sent by then it stops listening. If enabled, two new fields for the action will appear. One sets the response to a variable that can be referenced, and the other lets you choose the data for the response to be declared as a string or bytes. The data returned can also be interacted with by using the (devicename)_buffer, hexutils.bytestohex(), and string.frombytes() syntax values.
| Element | Type | Notes |
|---|---|---|
| Device | Dropdown | A device from your device tab you wish to send to. |
| Data | String | The data you want to send to the device. |
| Response Check | Checkbox | If checked will allow you to recieve a response back from the device you sent to. |
| Response Name | String | Name for a variable that will reference the response data. |
| Data Type | Dropdown | Assign the data for the response as either bytes or string. |
TCP Close⚓︎
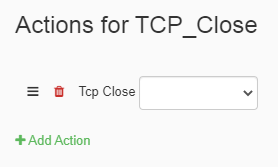
The TCP-Close Action allows you to select a device created in the device tab for the first value field. This will close any open connections you have with the device selected. Closing TCP connections prevents TCP connections from building up in the background of the JNIOR.
| Element | Type | Notes |
|---|---|---|
| Device | Dropdown | Device from the device tab that will have its connection closed. |
HTTP Request⚓︎
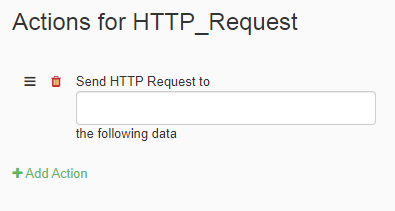
The HTTP-Request Action allows you to request information from a web server. You submit a request by entering a web address with an extension formatting the request you wish to send, and then the web server will return the information you request.
| Element | Type | Notes |
|---|---|---|
| Request | String | Text that will be used for the HTTP Request. |
HTTP Post⚓︎
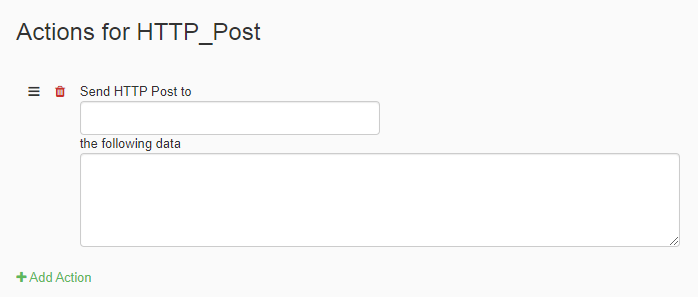
The HTTP-Post Action requests that a web server accepts the data enclosed in the body of the request message. The first field should contain the message you are sending. The second field should have the web address you are sending the message to.
| Element | Type | Notes |
|---|---|---|
| URL | String | URL for the HTTP Post. |
| Command | String | Command for the HTTP Post. |
Email Send⚓︎
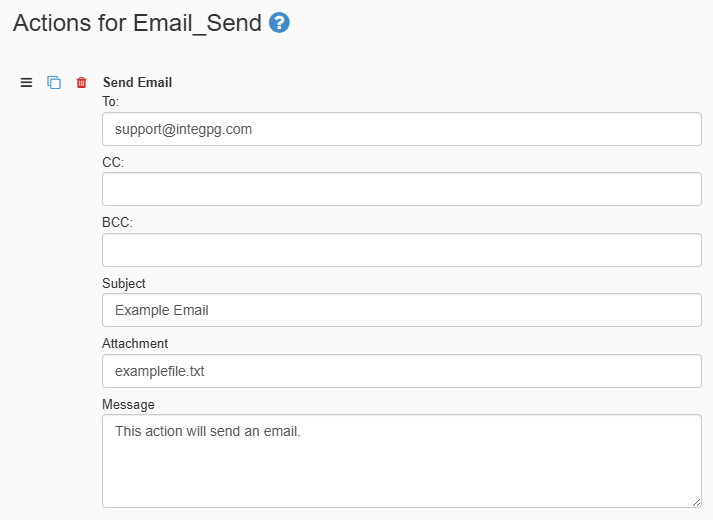
The Email-Send Action allows you to send an email to someone by including their email address, the subject of the email, and the message of the email. In order to use an email in this action, it first has to be a configured email on the JNIOR. A link to a post explaining how to configure an email on the JNIOR is here.
| Element | Type | Notes |
|---|---|---|
| Email Address | String | Email Address you wish to send to. |
| CC | String | Email addresses that will recieve carbon copies of the email. |
| BCC | String | Email addresses that will recieve blind carbon copies of the email. |
| Subject | String | Subject for the email. |
| Attachment | String | File Path on the JNIOR to reference a file. |
| Message | String | Message for the email. |
Email Profile⚓︎
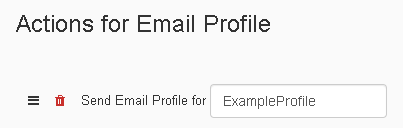
The Email-Profile-Send Action allows you to send an email to someone using predefined information when creating an email profile. In order to use an email in this action, an email profile must first be created for the JNIOR. This can be done on the JNIOR Web Page, in the Mail-Profile section of the Configuration Tab. A link to a post explaining how to configure an email on the JNIOR is here.
| Element | Type | Notes |
|---|---|---|
| Email Profile | String | The name of an email profile preconfigured on the JNIOR that will execute from this action. |
MQTT Publish⚓︎
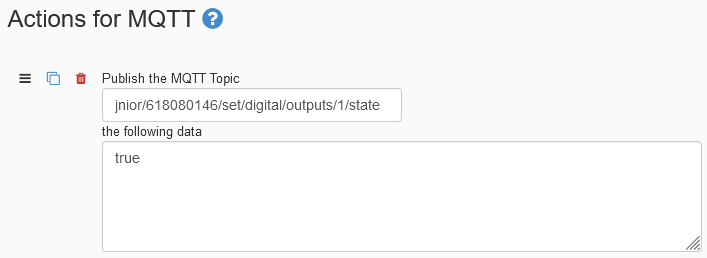
The MQTT-Publish action allows you to publish a message as a topic to an MQTT broker, when MQTT is running along with Tasker. The first field should include the topic you wish to publish to the broker. The second field is the value you wish to change the topic's values.
| Element | Type | Notes |
|---|---|---|
| MQTT Topic | Pathing for setting a value for a MQTT topic | |
| Value | Any | Value that the topic will be set to. |
SNMP Trap⚓︎

The SNMP-Trap Action allows you to create an SNMP Trap using three values, the OID, the data, and the Device. To start, it uses an OID as the first value of the action. This is to specify the SNMP Host. The second value is the message that will be sent to the SNMP Host. Lastly, the third value is the SNMP Device, which can be created in the Device tab. This value is actually optional, and the message created will be sent to the SNMP Host defined by the SNMP application from the OID if a device is not set.
| Element | Type | Notes |
|---|---|---|
| OID | String | OID for the SNMP device. |
| Value | Any | Value of the OID location. |
| SNMP Device | Dropdown | SNMP device from Device Tag. |
SNMP Set⚓︎

The SNMP-Set Action allows you to perform an SNMP Set using four values, the OID, the data, the value type, and the Device. To start, it uses an OID as the first value of the action. This is to specify the SNMP Host. The second value is the value that will be set for the OID value. The third value is the type of value you are trying to set for the OID. Lastly, the fourth value is the SNMP Device, which can be created in the Device tab. This value is actually optional, and the message created will be sent to the SNMP Host defined by the SNMP application from the OID if a device is not set.
| Element | Type | Notes |
|---|---|---|
| OID | String | OID for the SNMP device. |
| Value | Any | Value that the OID location will be set to. |
| Data Type | Integer or String | Data Type of the value being set to the SNMP Device. |
| SNMP Device | Dropdown | SNMP device from Device Tag. |
OSC Send⚓︎

The OSC Send Action lets you declare an OSC address, the arguments to give that address, and the OSC device you are sending to. When entering values for the second field, make sure you use commas to seperate each argument, and make sure to format the data as the value its intended to be. For example, if you are trying to send a string, make sure you put "" around it. The third field is a dropdown that lets you select ONLY OSC devices from the Device tab.
| Element | Type | Notes |
|---|---|---|
| Address | String | Address of the OSC value. |
| Value | Any | The OSC value that will be sent to the OSC Device. |
| OSC Device | Dropdown | OSC device getting sent the value. |