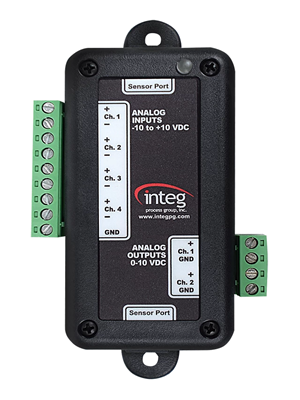
10v Module⚓︎
The 10v has 4 inputs and 2 outputs. As the name implies, each input and output can handle between 1 and 10 volts. Like all expansion modules, the 10v module connnects to the JNIOR via the sensor port. Connecting to the JNIOR's sensor port is not only how it communicates with the JNIOR, but how it powers itself as well. The module itself has 2 sensor ports on it, allowing it to daisy-chain other modules off of it so multiple expansion modules connected at the same time. There is not hard limit to the amount of modules you can connect, but connecting too many can eventually pull too much power from the JNIOR, cause it to shutdown.
Configuration⚓︎
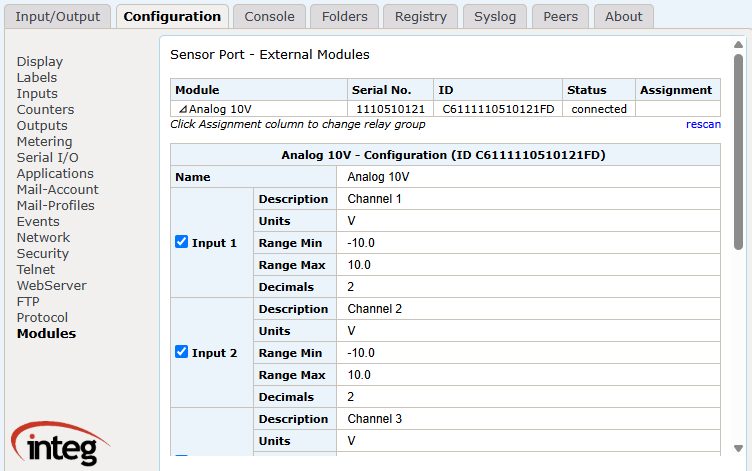
The 10v module can be viewed and configured from the JNIOR's webpage once its connected via the sensor port. Depending on what additional expansion modules are connected and when they were connected, the expansion module may display in a different area. Volts can be viewed for each input, and a percentage from 1-100% can be viewed and controlled for each output.

For configuring labels in the external section, this can be done from the configuration tab, under the modules section. Each module detected has a dropdown, allowing you to configure each I/O values name, unit of measurment, range, and number of used decimals for prescision.
Application Uses⚓︎
10v modules can be referenced in many of the applications that INTEG offers. A few examples are below:
Analog Presets⚓︎
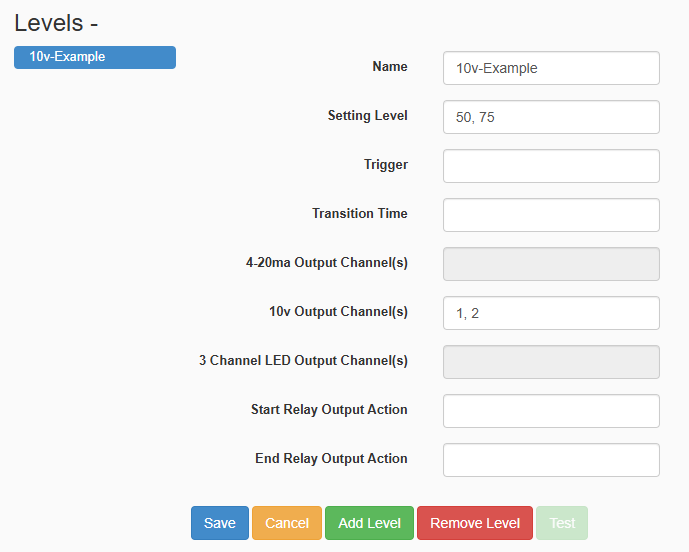
The Analog Presets application is the most straight forward way to control your 10v module, allowing 'levels' to be created that when run, set output values to a desired percent.
Tasker⚓︎
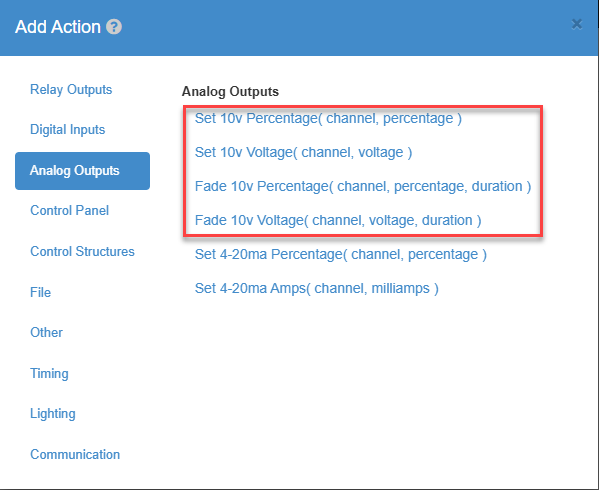
The Tasker application can have a workspace setup to have actions added to it that can set/fade 10v outputs.
MQTT⚓︎
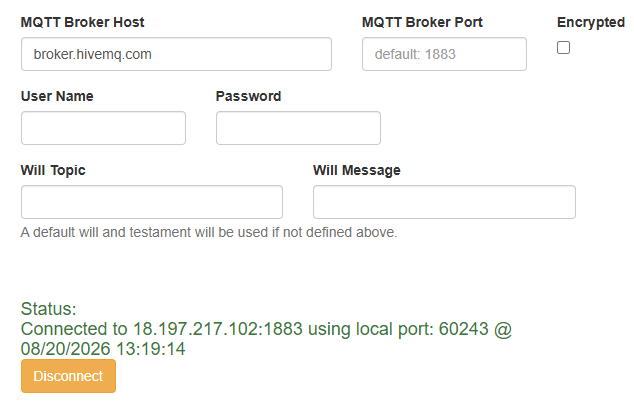
The MQTT application allows topics to be published/subscribed to through a broker that can let you set/view the values of your 10v modules.