Control Panel⚓︎
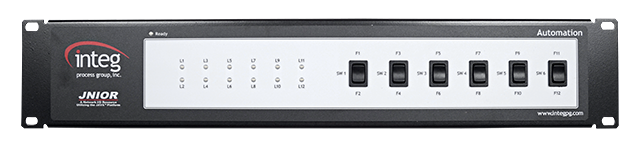
The Control Panel has 6 two-position rocker switches, 12 LED status lights, and an alarm speaker. Each position of a rocker switch has an LED light positioned above or below it, so that they can represent what a rocker switch's actions do. Like all expansion modules, the Control Panel connects to the JNIOR via the sensor port. Connecting to the JNIOR's sensor port is not only how it communicates with the JNIOR, but how it powers itself as well. The module itself has 2 sensor ports on it, allowing it to daisy-chain other modules off of it so multiple expansion modules connected at the same time. There is not hard limit to the amount of modules you can connect, but connecting too many can eventually pull too much power from the JNIOR, cause it to shutdown.
Configuration⚓︎
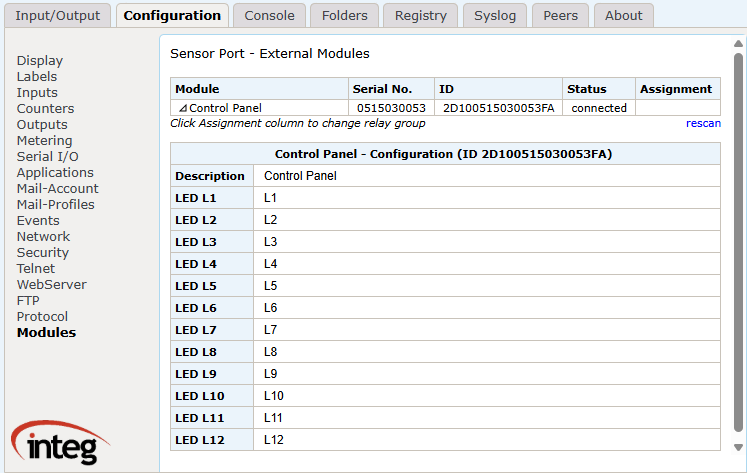
The Control Panel can be viewed from the JNIOR's webpage once its connected via the sensor port. Depending on what additional expansion modules are connected and when they were connected, the expansion module may display in a different area. The only things viewable for the Control Panel are the LED statuses.

For configuring labels in the external section, this can be done from the configuration tab, under the modules section. Each module detected has a dropdown, allowing you to configure each LED status light.
Application Uses⚓︎
Control Panels can be referenced in many of the applications that INTEG offers. A few examples are below:
Cinema⚓︎
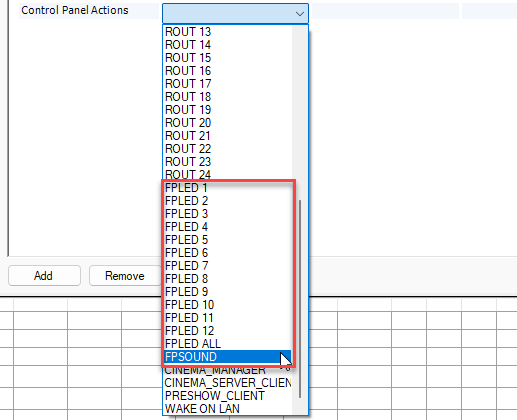
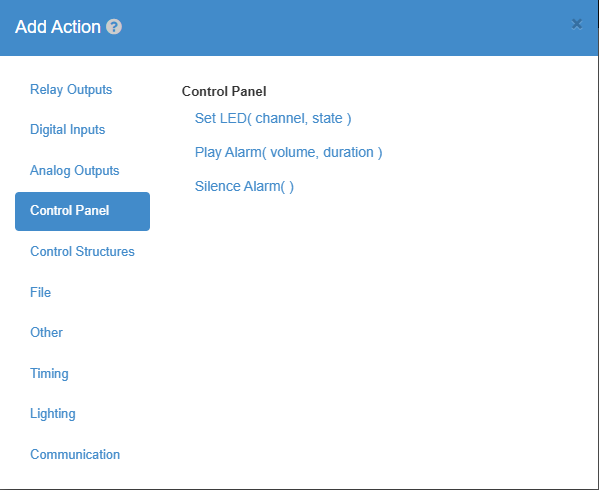
The Control Panel can be referenced in the Support Tool's macro tab. The actions the Control Panel can do in the macro file are controlling its LED status lights, or playing an alarm:
Tasker⚓︎
The Tasker application can have a workspace setup to have actions added that interact with the control Panel.
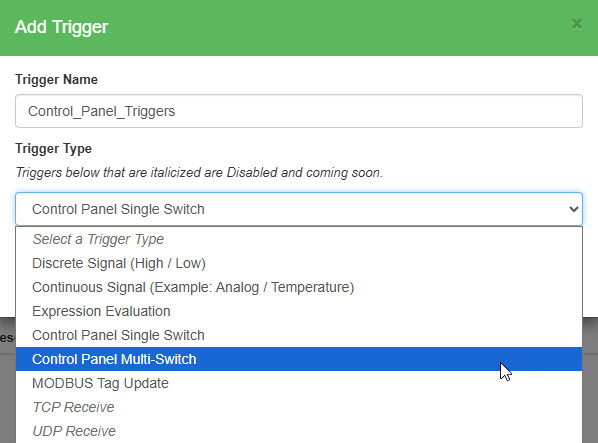
The Control Panel switches can also be used as triggers within Tasker so that they can activate tasks when presed.