JNIOR Supporter Layout
The JNIOR Supporter has four sections: Beacon, Update Projects/Snapshots, Cinema Files, and Notifications. This post will briefly go over each section and what it’s used for to help you get started.
Beacon
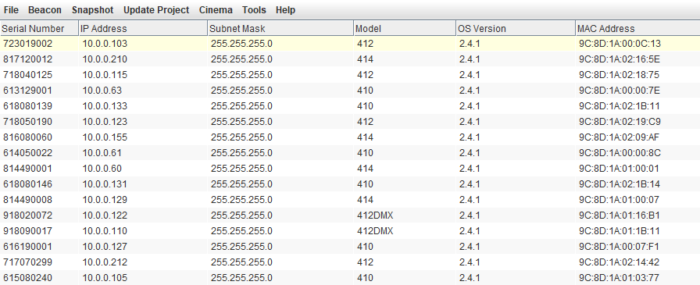
Beacon is the main section of the JNIOR Supporter. Here, all JNIORs that can communicate with your PC using a UDP protocol on port 4444 report to the Beacon tab. JNIORs that are displayed in the Beacon tab can be selected and right-clicked to be interacted with. A drop-down menu appears when a JNIOR is right-clicked, and different options for the JNIOR can be selected from the menu. The Beacon tab can be edited at the top of the JNIOR Supporter, under the Beacon Tab
Update Projects and Snapshots
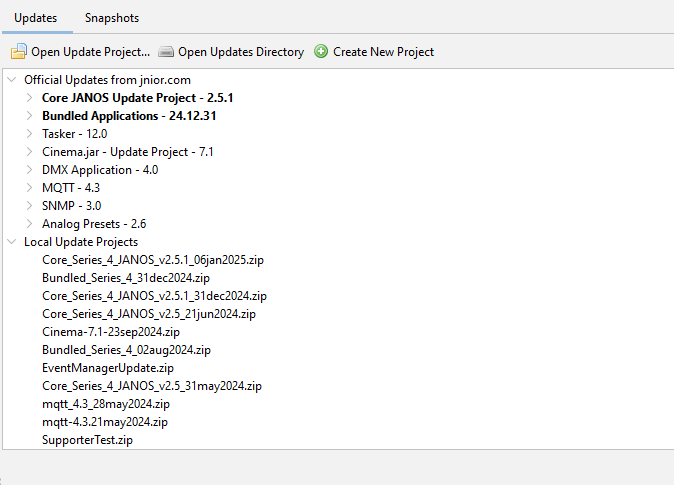
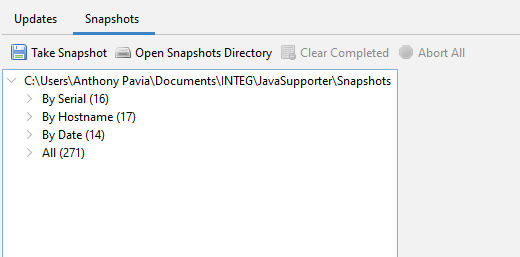
A window on the right side of the JNIOR Supporter is for performing Update Projects and Snapshots. You can switch between Update Projects or Snapshots by selecting the corresponding tab. You can find where Update Projects or Snapshots are located on your PC by choosing the ‘Open Directory button. Opening or taking update projects will display them under the Updates Tab. Taking snapshots has the progress of the snapshot displayed on the right side of the Snapshots Tab.
Cinema Macro and Device Files
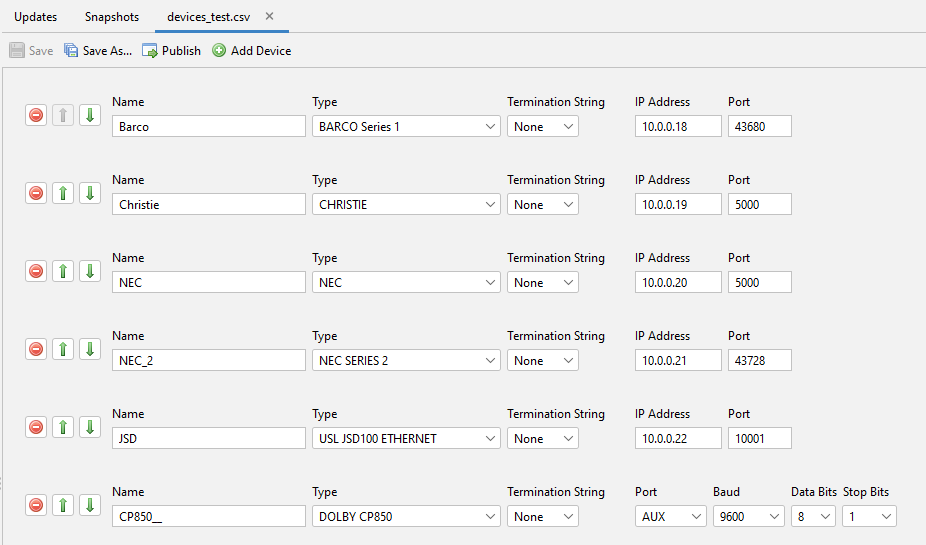
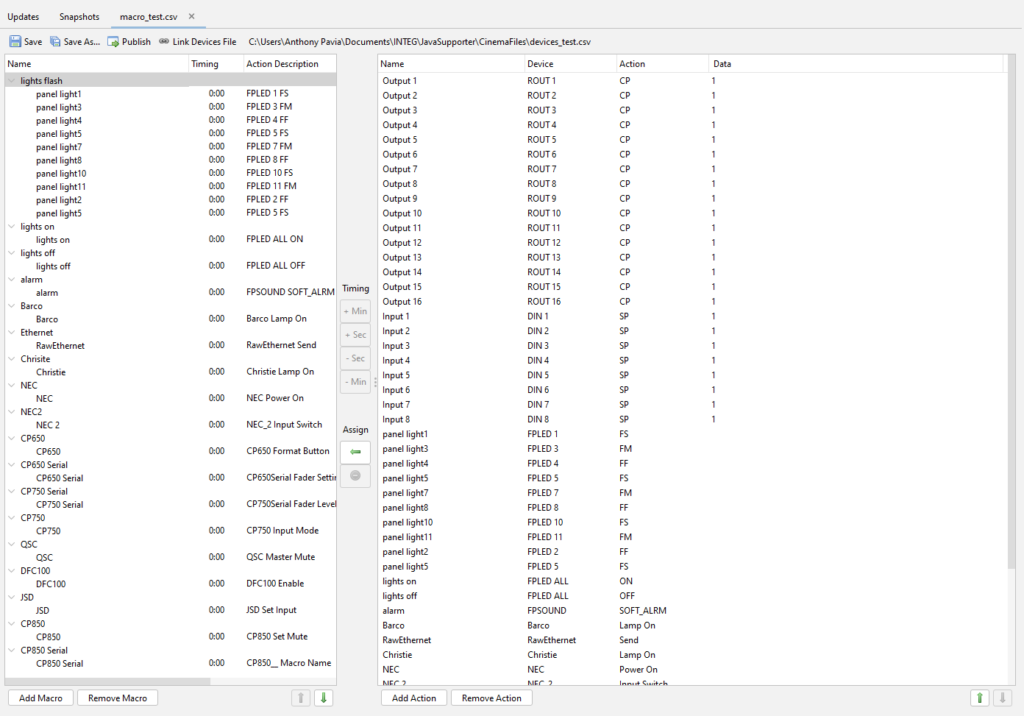
At the top left of the Supporter, there is a tab called Cinema that allows you to open, edit, save, and publish Macro and Device files. These files can be loaded from a JNIOR remotely, grabbed from a local file directory on your PC, or created from within the Supporter application.
Notifications
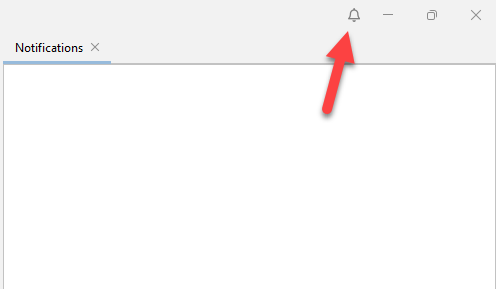
At the top right of the Support applications is a Bell Icon. Clicking this will toggle open the notifications pane. Anytime reboots, updates, publishes or snapshots are taken, their results will be displayed here. This pane is also for reporting general issues or warnings the JNIOR Supporter is experiencing. If you see an issue get reported here and are unsure why, please contact us for assistance! Right-clicking notifications in this pane will allow you to remove any you no longer wish to see.
