Factory Reset Series 3 JNIOR
Unlike the Series 4 JNIOR, the Series 3 JNIOR’s do not have a command that can be used to factory reset them. To get a Series 3 JNIOR as close to factory reset is to follow the steps below:
Step 1: Delete the Registry
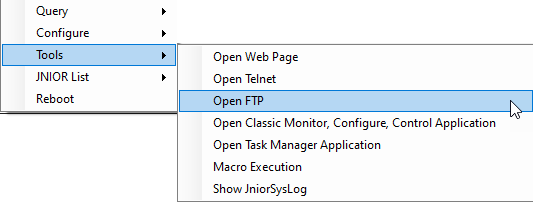
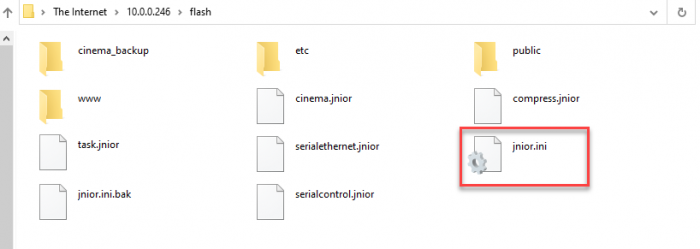
On every JNIOR is a jnior.ini file. This file is the saved registry values on the JNIOR. To reset the registry we will need to remove this file from the JNIOR. Two ways to remove the file is to either right click the JNIOR in the support tool and go to Tools/FTP to access the files on the JNIOR, or make and command line connection and remove the file using the command line. Thing is, the JNIOR automatically backups the registry every couple of minutes, so even though we delete the jnior.ini file, it will repopulate after a few minutes. To make sure the registry does not regenerate, we have to delete the jnior.ini file, and then quickly after pull power from the JNIOR for 30 seconds. This will prevent the a backup of the JNIOR from being created. Below is how to get to the jnior.ini file by using FTP.
Below is how to remove the jnior.ini with the command line:
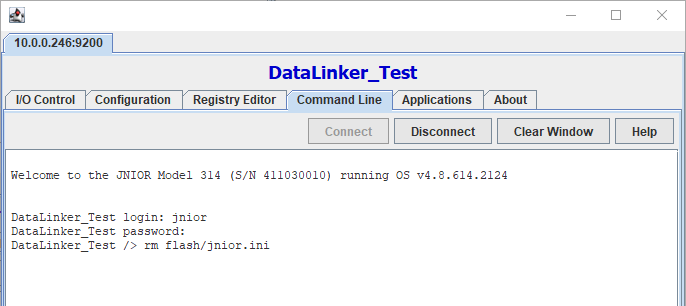
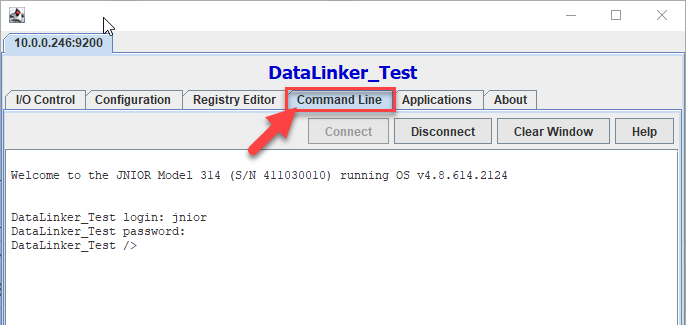
In the picture below we use the Series 3 Java applet configuration page to send command through command line. To open the Java applet, right click the JNIOR in support tool and select Tools/Open Classic Monitor, Configure, Control Application. Then go to the Command Line Tab and that’s where you’ll enter the command rm flash/jnior.ini. This removes the jnior.ini file in the flash folder from the JNIOR.

Step 2: jrflash -f
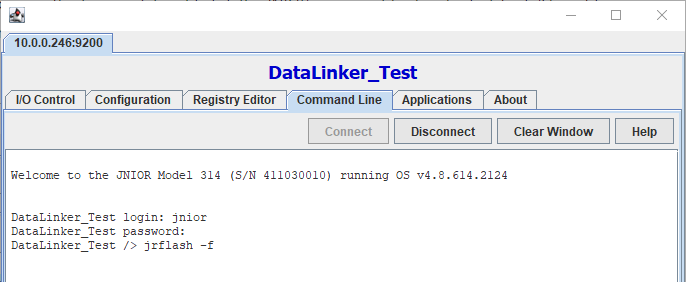
After resetting the registry, we’ll then want to reformat the flash memory. To do this, if you haven’t already we’ll need to make a command line connection to the JNIOR. Once a command line connection is made, you’ll enter the command jrflash -f. Let this command run, and once this is done you’ll re-update the JNIOR with the Series 3 All-In-One update project. In the picture below we use the Series 3 Java applet configuration page to send command through command line. To open the Java applet, right click the JNIOR in support tool and select Tools/Open Classic Monitor, Configure, Control Application. Then go to the Command Line Tab and that’s where you’ll enter the command.
Step 3: reboot -a
Once the flash has been reformatted and the JNIOR’s been reupdated with the Series 3 All-in-one update project, you’ll connect to the command line again the same way you did for the last step and enter one more command. Enter reboot -a, as this will reset the heap memory. This clears up fragmented memory, so when memory is being allocated for applications or files to be moved on the JNIOR, enough space is available for them to exist.
After that, your Series 3 JNIOR should be as close to factory reset as possible!