Creating a DMX Script
When you have a fixture that you want to control through the DMX application, you use a script. This post will explain how to create one.
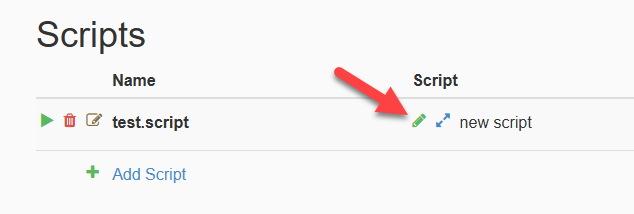
To start, you’ll open the DMX application’s webpage and go to the Scripts Tab and click the add script button, which the application will then prompt you for what you want to name the new script. After entering the new script’s name, you’ll go to it in the script tab and select the green pencil icon under the script column.
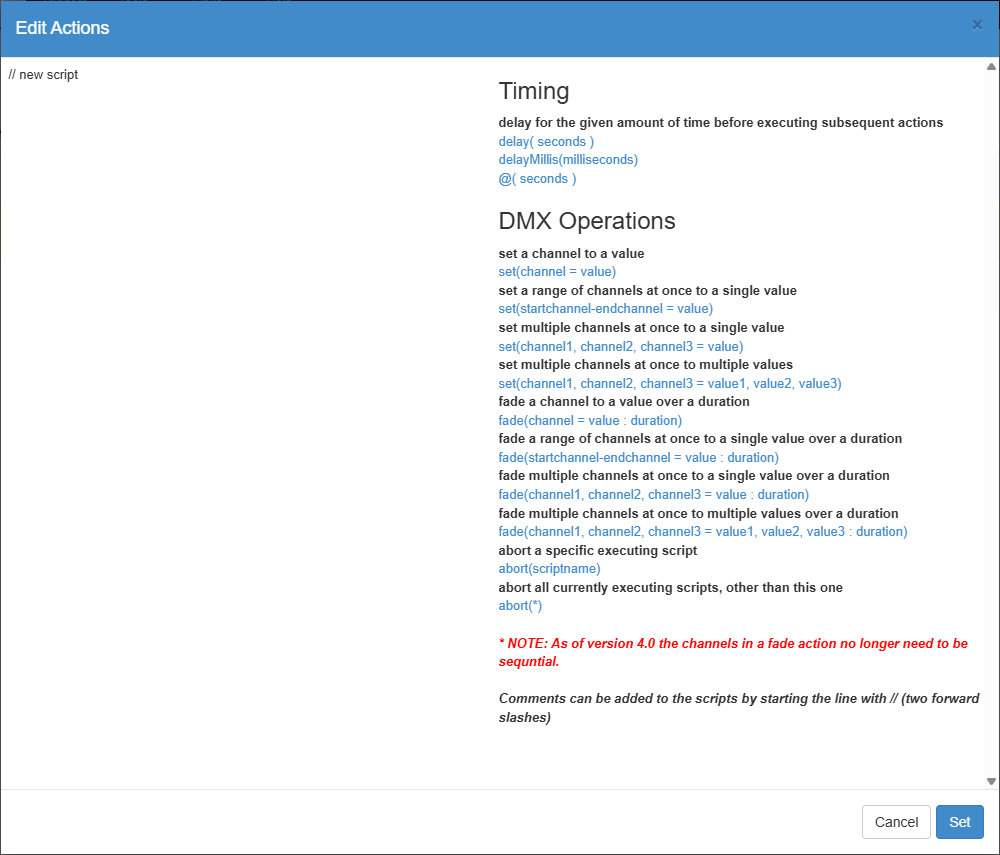
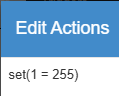
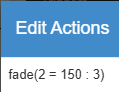
The Edit Actions dialog box will open, where you can then enter actions for the script to perform. The 3 main actions are the delay, set, and fade. How you enter those actions in the script, and the different parameters an action can use, are shown on the right side of the dialog box. Clicking the blue text of the examples on the right adds them to your script as an easy way to implement them. There are 512 channels you can use, and each value has a range of 0 – 255.
After you’ve entered your actions in the script, you’ll click set at the bottom right of the dialog. Now, when the script runs, it’ll edit the channels referenced in the script actions.