Creating a Project
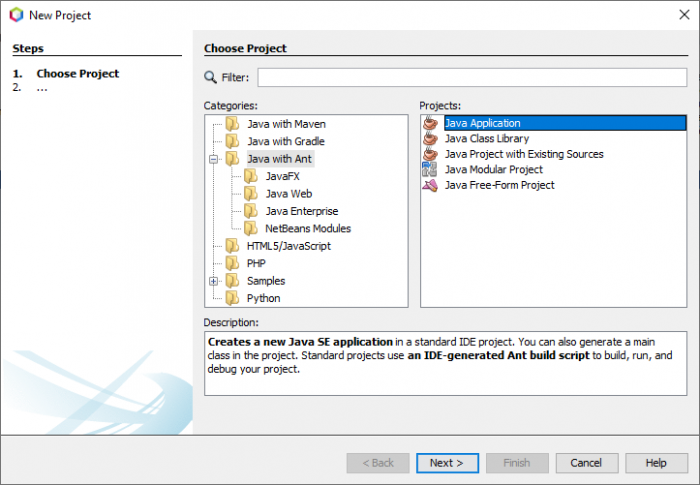
To create a new project go to the File | New Project… menu item. This will open the New Project dialog. In the New Project dialog box, you can select Java with Ant under Categories, and Java Application under Projects.
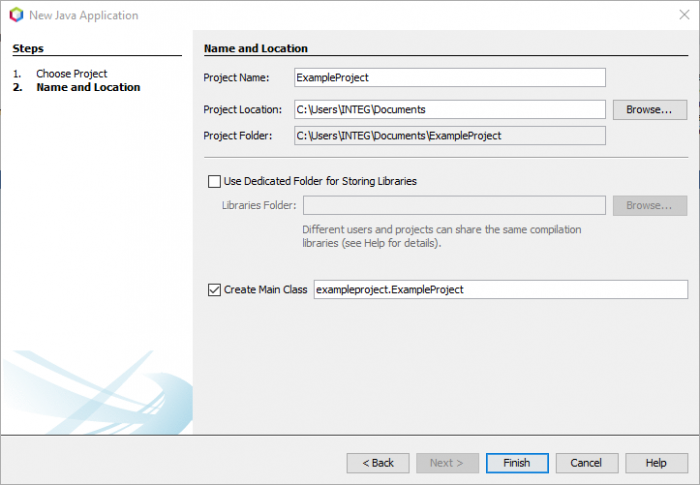
Hit next, and then give the Project a name. In this example the project is named ‘ExampleProject’. After naming it the application can set to where its saved to. This is useful as projects can all be saved in the same location, making them easy to find in one directory. Once a name and location are given to the project a name and a location on your computer, hit finish.
Add JANOS Runtime
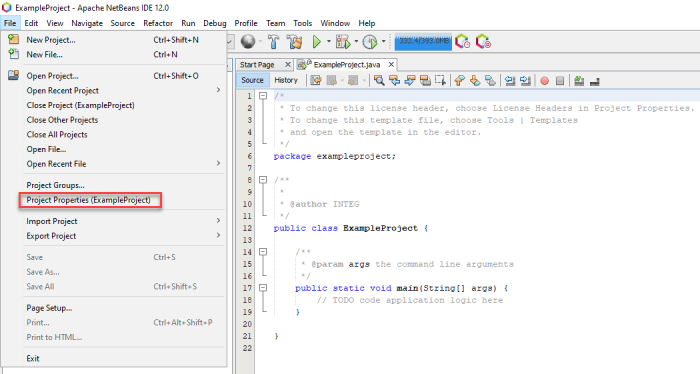
Now that the project is created, the JANOS Runtime library needs to be added to the project so its classes can be used in the application. To do this, go up to the file drop-down and select ‘Project Properties’.
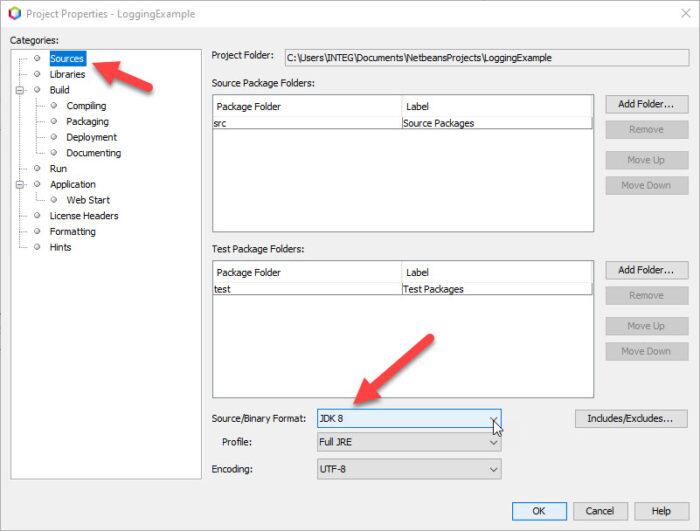
In the Project Properties dialog box, select the Sources option under the Category section. For the Java Platform, use a version of Java 8 as a default platform.
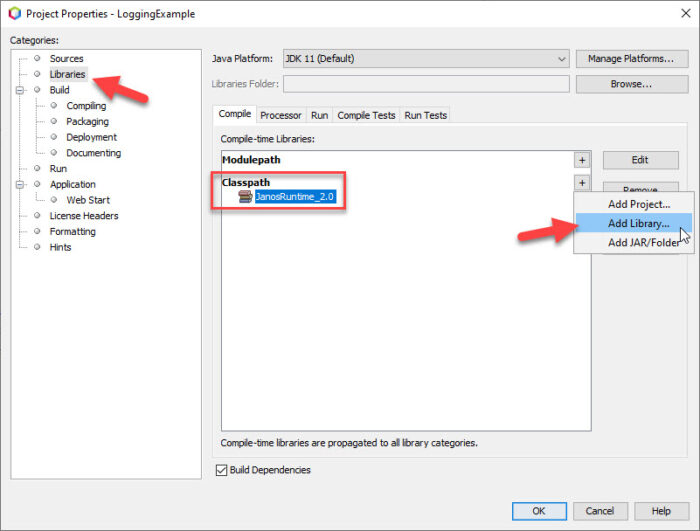
Next, select the Libraries option under the Category section. Under to the compile tab, select the plus icon next to Classpath and select ‘Add Library’. Then select the JANOS Runtime Library.
Give JANOS Runtime precedence
In order to ensure that the classes stored in the JANOS Class Library take precedence over any that might be also present in the JDK, you can do this by going to the compiling section of your projects properties and in the additional compiler options entering:
-bootclasspath “${file.reference.JanosClasses.jar}”
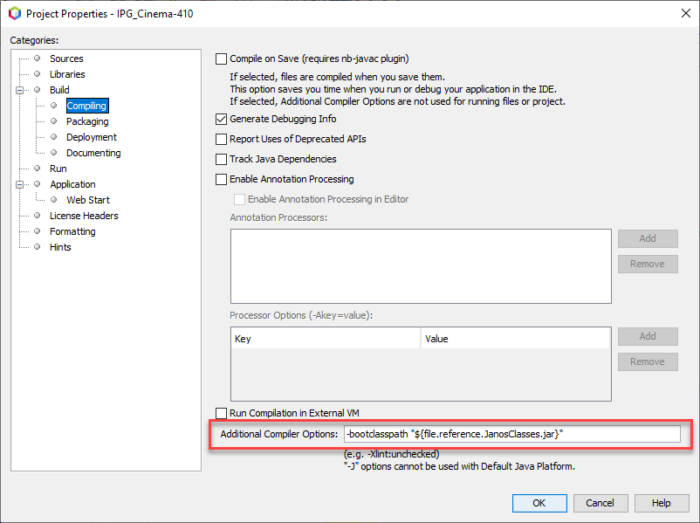
This will insure that the JanosClasses.jar file is searched before any other library. As of the time of this writing we do not know of a way to prevent the Java Compiler from referencing the installed platform libraries.
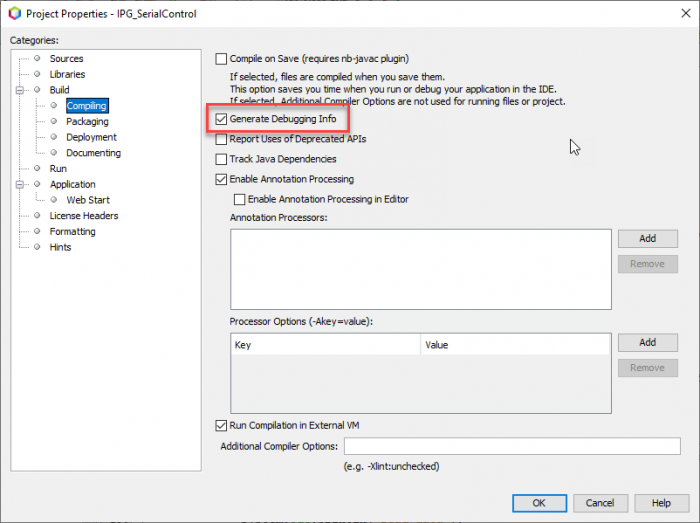
Debug Information
Debugging information is extremely useful if some error arises. The debug information in the Stack Trace will pinpoint exactly where the bug lies in your code. The stack trace will show you the call stack containing source file names along with line numbers. You can enable debug information in the Project Properties dialog.