Create a Java Application for the JNIOR in VSCode
NOTE: This tutorial assumes you have both VSCode and JDK 1.8 installed.
Step 1. Install Java Extensions
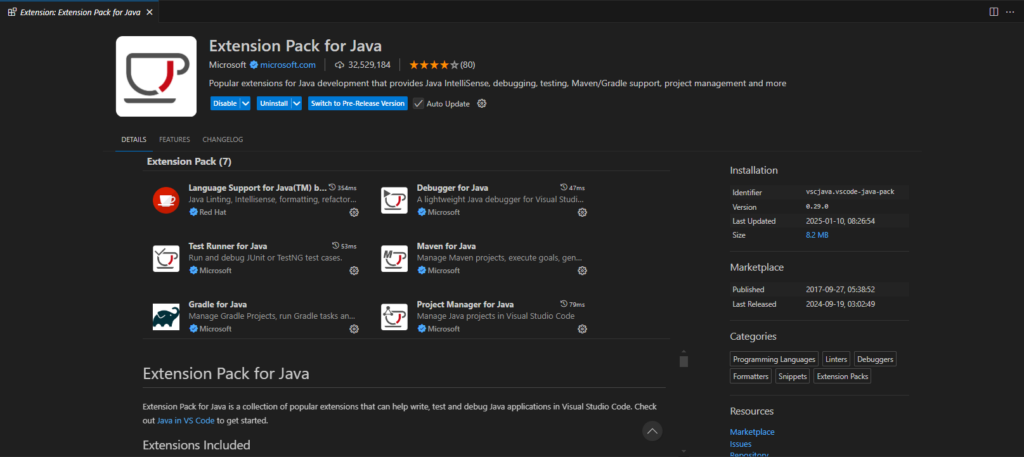
In VSCode, there is an extension pack called “Extension Pack for Java” created by Microsoft. You’ll want to download this pack to create Java programs in VSCode. You should be able to use the extension view on the primary sidebar to search for this extension pack. Specifically, the “Language Support for Java” and “Debugger for Java” extensions from this pack are what you will need, but you may find the other extensions included useful as well.
Step 2. Install JANOS Runtime Library
For Java applications that you wish to run on the JNIOR, it’s required that they must be built against the JANOS class library. This class is OS-dependent, so when using this library to make applications, make sure you have the latest version available. This library doesn’t contain all JVM classes. Some Java classes you are used to might not be available within this library. Here is a link to download the latest JANOS Runtime Library. This will be added to your project in a future step.
Step 3. Create or Open your Java Project
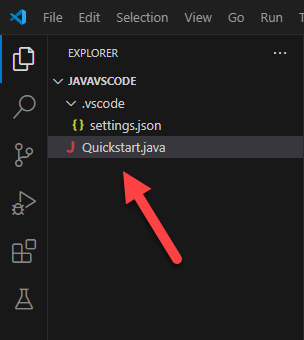
Once you have installed the extension pack, you’ll create a new Java project or open an existing one in VSCode.
Step 4. Add JANOS Runtime Library as a Referenced Library
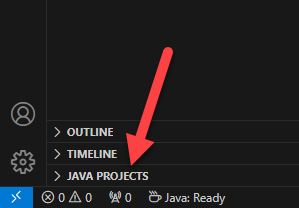
Once your Java Project is open in the explorer view of VSCode, selecting a Java file will generate the “Java Projects” view at the bottom left of the explorer. This will be used for other future steps.
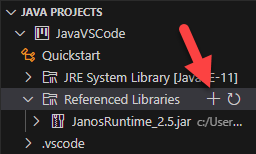
Clicking the Java Project view’s drop-down shows the project and its different packages, JVM, and Referenced Libraries. Here, we’ll select the Referenced Libraries drop-down and then click the + button next to it. This will allow us to select a JAR file to include in this project as a library. You’ll need to find the JANOS Runtime Library we downloaded earlier and include it here.
Step 5. Set JDK Runtime to 1.8
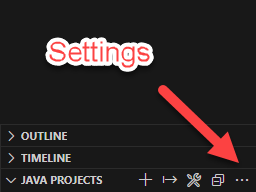
We’ll need to set the JDK of our Java project to 1.8. This is because using other versions might contain newer implementations of Java classes that aren’t compatible with the JANOS Runtime Library. Hovering over the Java Project view provides the option to open up the settings for the Java project.
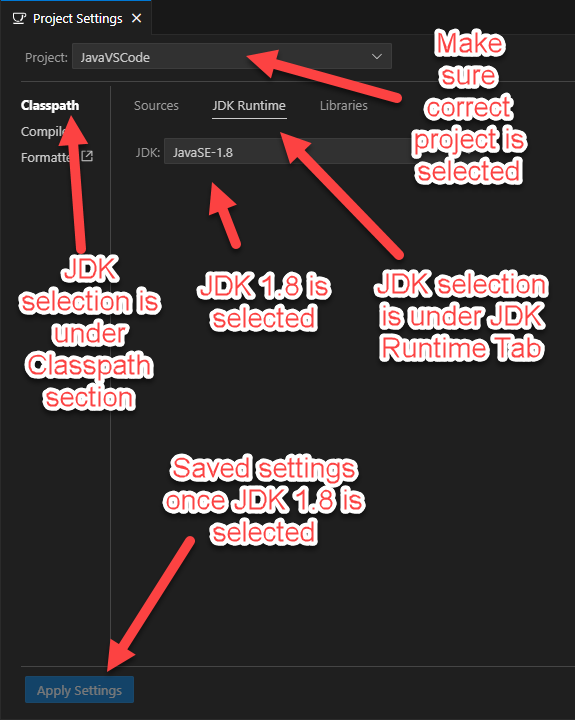
Once opened, under the Classpath section in the JDK Runtime Tab you can set the JDK your Java Project is using. Make sure that you select a 1.8 JDK.
Step 6. Build and Export your Java Projects
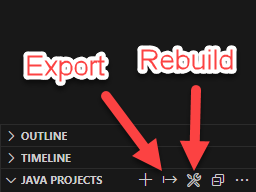
Once your Java Project has the JANOS Runtime Library referenced in it, you can build and export it so it can be moved to the JNIOR. Hovering over the Java Projects view displays options for doing both.
When exporting your Java Project, VSCode will prompt you for which class is your Main (for this example its a class called Quickstart), along with what gets exported into your JAR file. Make sure not to include the JANOS Runtime Library when exporting, as it will make the JAR file too large to load onto the JNIOR.


Step 7. Load Application onto JNIOR and run
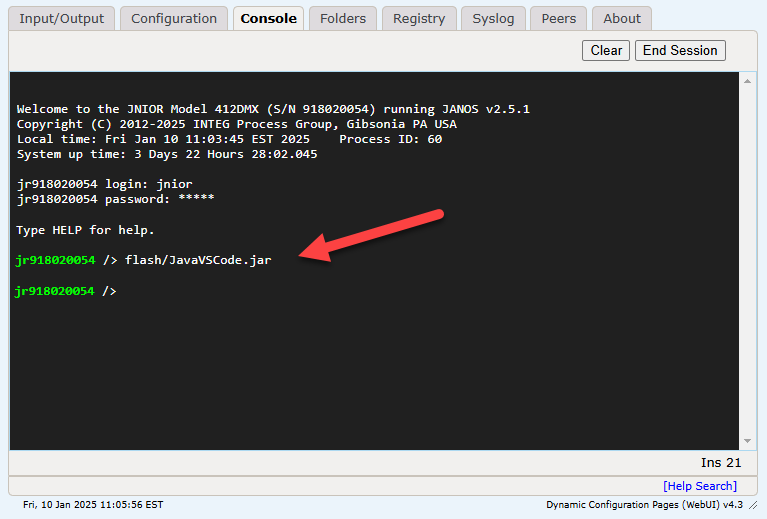
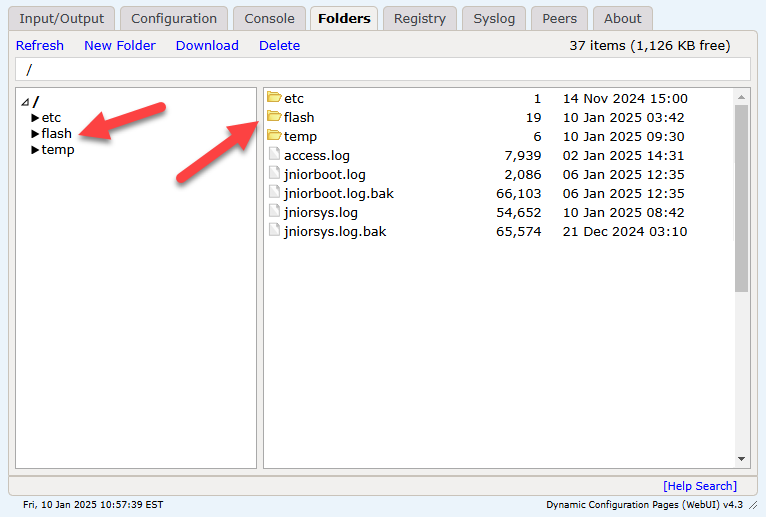
Now that we’ve exported our project as a JAR file, we can now load it onto a JNIOR and test the application. Either by opening the JNIOR’s web page and navigating to the folder tab, or by opening the File Explorer for the JNIOR using FTP, you’ll want to place the JAR file under the flash folder of the JNIOR.
Once the JAR file is placed in the flash directory, you can execute it by going to a JNIOR command line and running it. This can be done by typing out the name of the application within its file location, which is the flash directory.