Editing a JNIOR Registry from the Support Tool
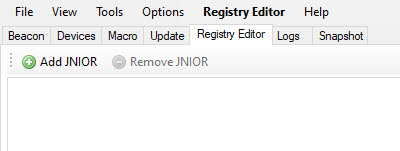
A JNIOR’s registry can be edited from the JNIOR Support Tool using the Registry tab. The Support Tool Registry Editor uses a JNIOR Protocol connection to do this. To start, you’ll need to go to the top left of the Registry tab and select Add JNIOR. This will open a JNIOR selection screen, where the selectable JNIORs are all ones that are appearing in the Beacon tab.

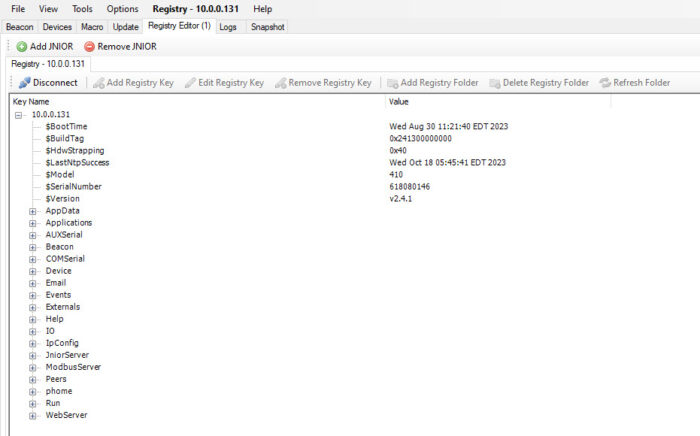
Once you’ve selected your JNIORs by clicking the checkbox next to each, you’ll hit Okay and see that each JNIOR’s registry will be displayed in the Registry tab of the Support Tool. Each JNIOR’s Registry Editor will have its own separate tab with its IP as its label. To close a Registry Editor, simply select the Remove JNIOR button while on that JNIOR’s tab.

Depending on what you have selected, different configuration options will be available in the JNIOR Registry tab. The following is what each option does:
- Disconnect – Disconnects the JNIOR Protocol connection for the Registry Editor and closes its tab.
- Add a Registry Key – Can be used when a Registry Key or Registry Folder is selected. Adds a Registry Key in the selected directory location.
- Edit a Registry Key – Can be used when a Registry Key is selected. Edits the value of a Registry Key.
- Remove Registry Key – Can be used when a Registry Key is selected. Removes the Selected Registry Key.
- Add Registry Folder – Can be used when a Registry Key or Registry Folder is selected. Adds a Registry Folder in the selected directory location.
- Delete Registry Folder – Can be used when a Registry Folder is selected. Deletes the Registry Folder.
- Refresh Folder – Refreshes the selected Folder, making it display the current status of all Registry Keys and Folders within it.
