Setting Up MQTT On The JNIOR
This post will go over installing MQTT onto a JNIOR, and then connecting to an MQTT Broker.
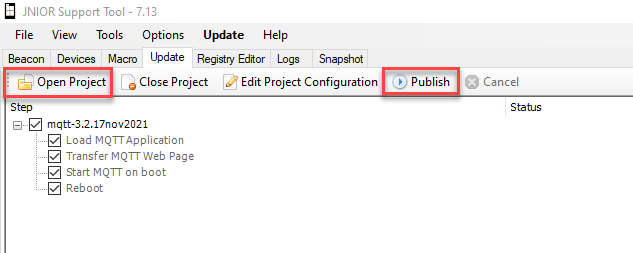
To start, download the JNIOR Support Tool and MQTT update project if you haven’t already. You’ll run the JNIOR Support Tool once its installed, and then go to the update tab. Here you’ll click ‘open project’ and select the MQTT update project. (do not unzip before opening in the support tool) Once its opened in the support tool you’ll select ‘publish’ and in the dialog box select the JNIOR you want to publish to and hit okay.
Once this is complete, you’ll want to go to the JNIOR web page for MQTT by going to a web browser and entering your JNIOR’s IP followed by /mqtt. (For example if your JNIOR’s IP is 10.0.0.110, in your web browser you would to go the URL 10.0.0.110/mqtt.) The webpage will look like this.
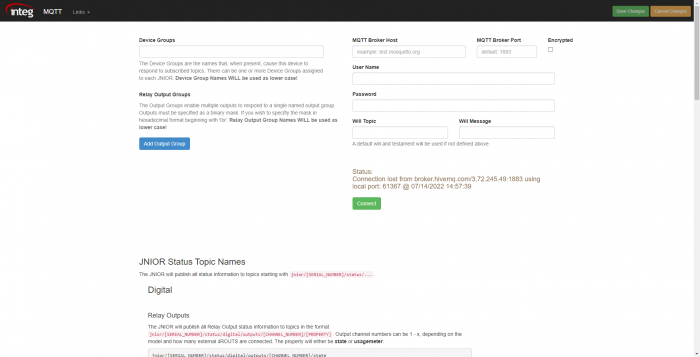
Once on this page, all you need to do is enter an MQTT Broker Host and its Port. You can use a Broker you already have, or if you don’t have one there are public Brokers that you can use. (Examples are test.mosquitto.org or https://www.hivemq.com/public-mqtt-broker which have their Host Names and Port Values on those pages.) You’ll save these changes, and afterward click the connect button. If the Status says connected, then MQTT is all setup on the JNIOR! If not, make sure you entered the correct settings for your Broker, and saved them before trying to connect.