Add JNIOR Functions to LabVIEW
If you are looking to use LabVIEW with the JNIOR, we’ve created functions you can use! The following post is a quick walkthrough on how to add these functions to LabVIEW. Below are the DLL and header files needed to create this setup. This tutorial assumes you already have LabVIEW installed.
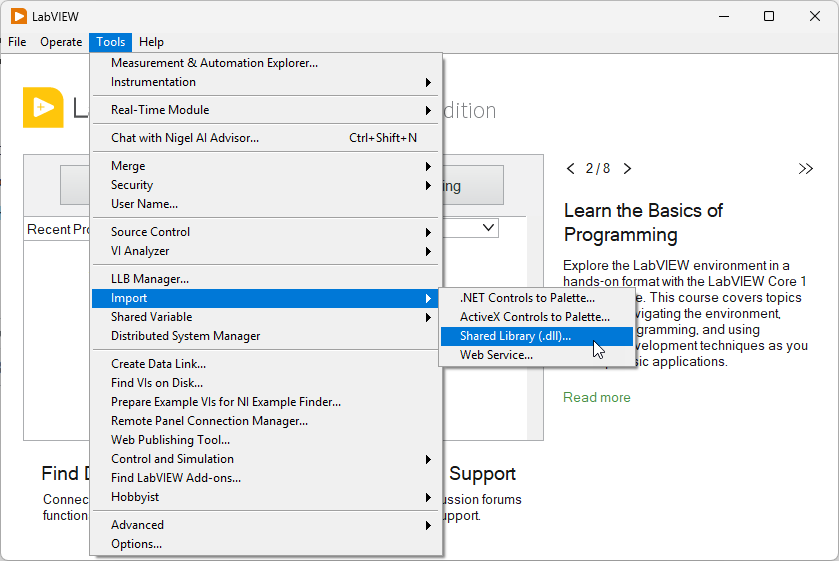
Once you have downloaded the DLL and header files, open LabVIEW, and under the tools tab and navigate to Import -> Shared Library (.dll)…
Clicking this will start the Shared Library Wizard for LabVIEW. This wizard will ask you for the DLL and header file you just downloaded, scan it for the functions, and create wrapper VIs for you to use in LabVIEW.
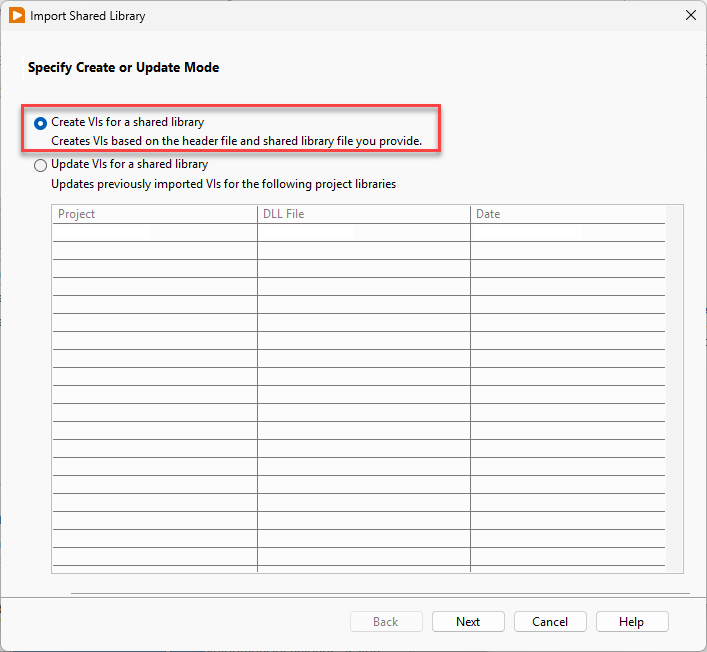
Starting with the first step, you’ll need to select whether you are updating or creating a new shared library using a DLL. This walkthrough is for a first-time setup, so you’ll select “Create VIs for Shared Library” and click next.
You’ll then be prompted to select the locations on your PC of the DLL and header files you downloaded at the start of this walkthrough. Once you select where they are, click Next.

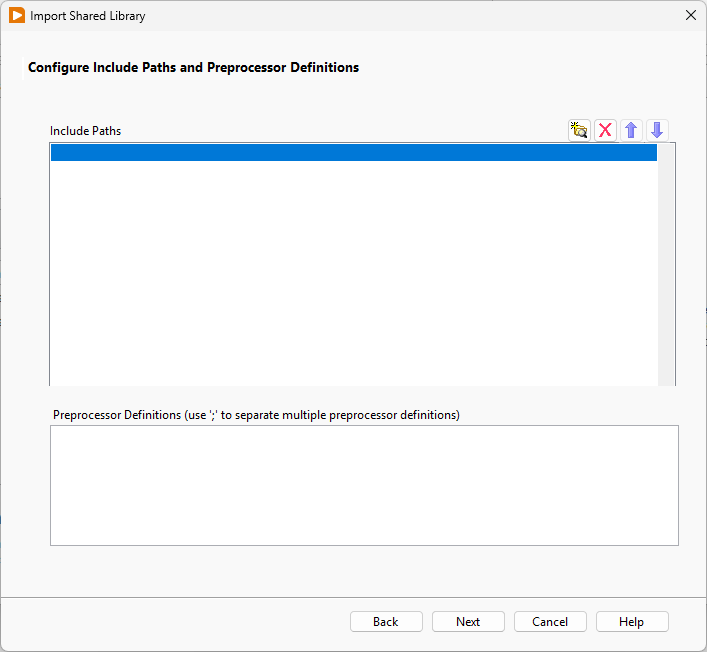
The next step will ask if you want to add any paths or preprocessor definitions. These would be additional instructions for parsing the header file, but shouldn’t be needed. Leave these fields blank and click next.
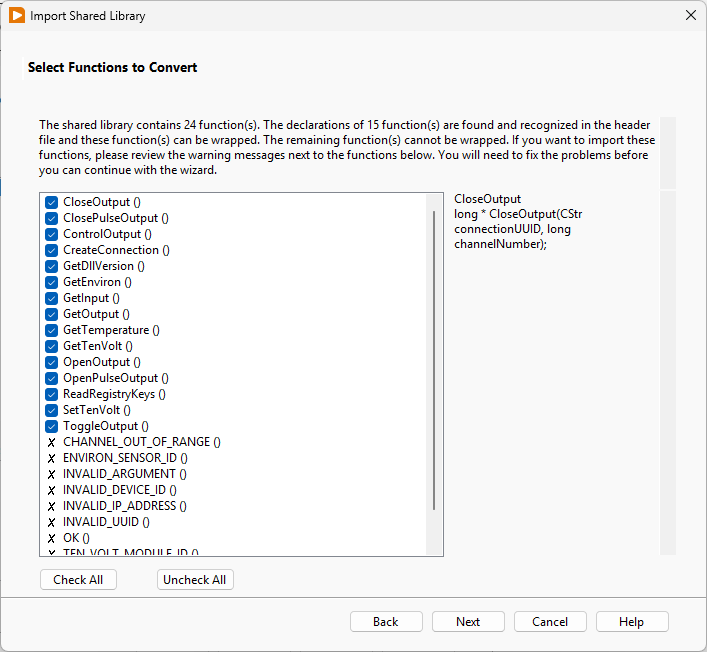
Once you hit next, the header file will be parsed to search for the JNIOR functions to add to LabVIEW as VIs. Once they are found, the next dialog will list out the functions it can add by placing a check mark next to them. Some of the ‘functions’ found are actually constants that can’t be implemented as VIs, so don’t worry if not all the ‘functions’ have a check mark next to them. Once the available functions are found, click Next.
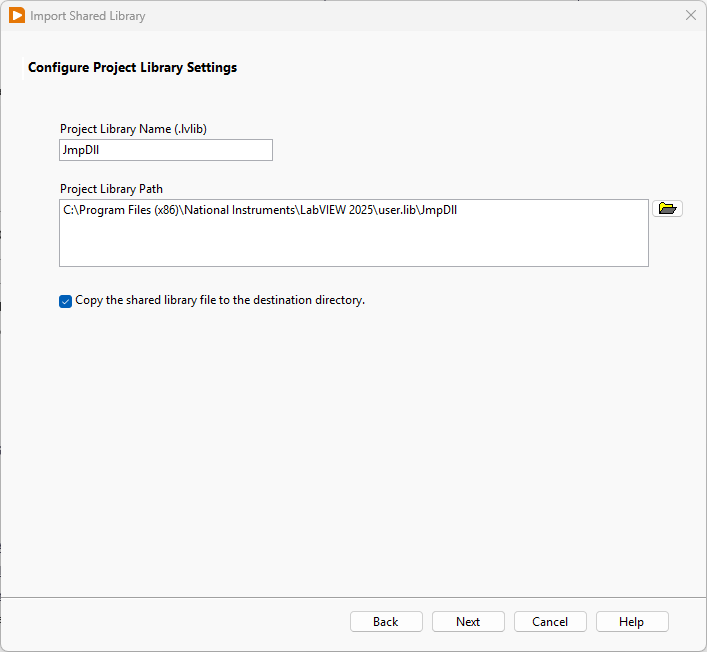
You’ll then be prompted to enter a name for the library that will be created from the DLL, and the location you wish to save it to. You can leave these as they are and click Next.
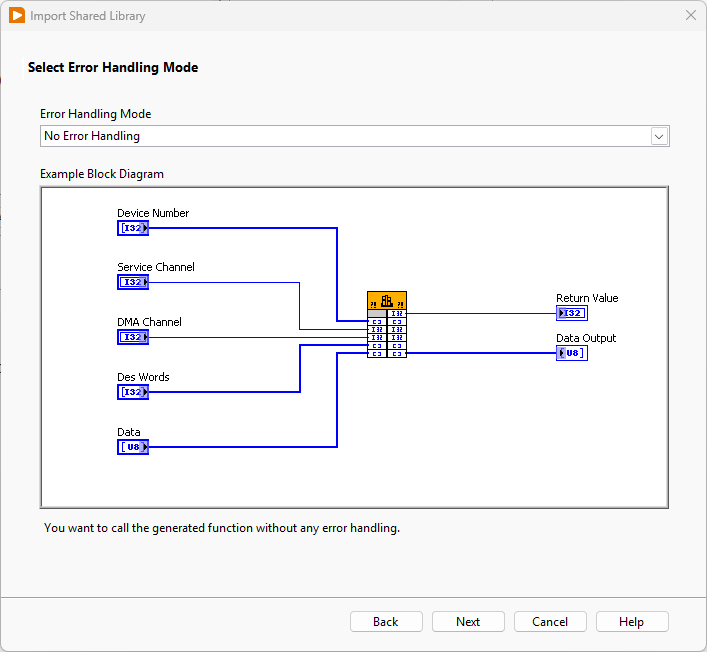
Next, you’ll be prompted on how you want error handling to be managed with these generated VIs. Unless you want to change how these VIs handle errors that are supplied to them, these can be left as is. Then click Next.
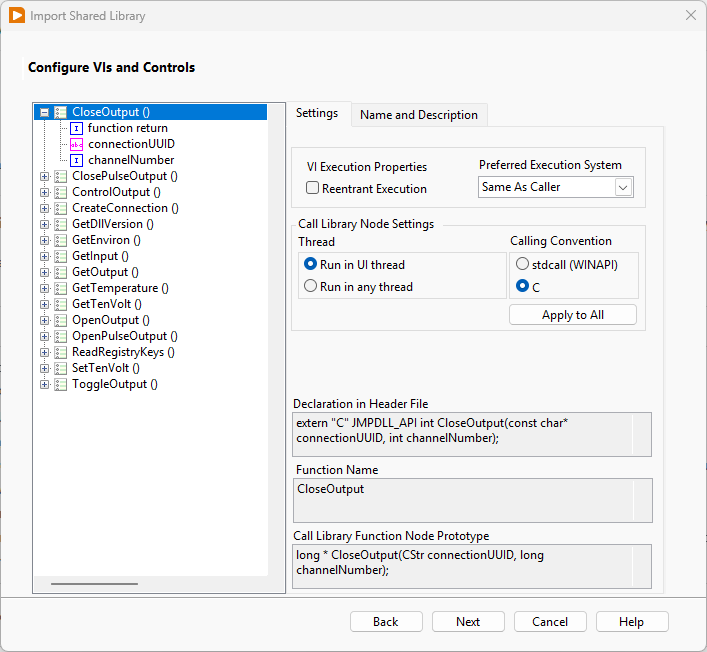
The next dialog will display settings for all the generated VIs for additional configuration. These VIs shouldn’t need to be altered after being generated from the DLL. Leave these as is and click Next.
The next dialog should display the summary of the shared library that is about to be created with the VIs from the DLL file. Click Next.

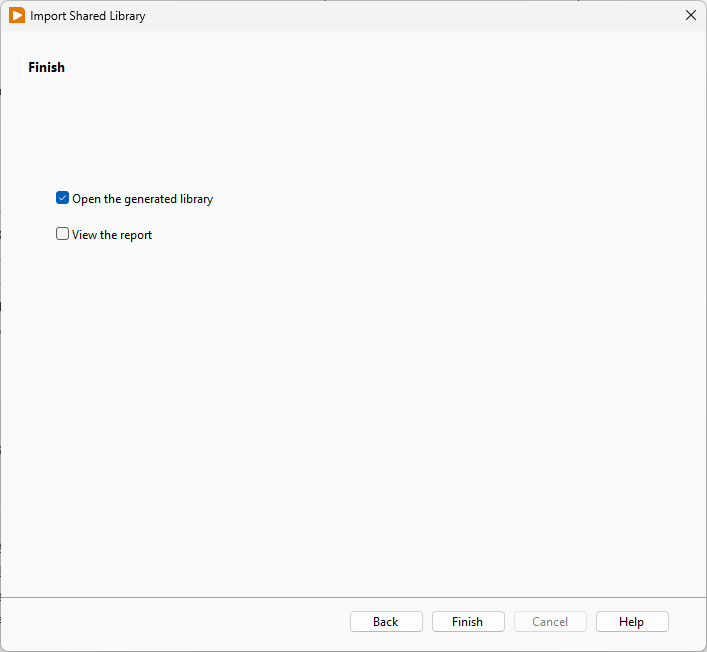
This last dialog should show that the library has been generated! You can open the generated library to view the VIs that were created in it.
Now, when working inside a VI, you can reference the VIs generated from the Library to interact with the JNIOR! When a VI is open, right-clicking in the block diagram and navigating to User Libraries will display the library we just created. Inside should be the VIs you can now implement.
