Taking a Snapshot
Many times the best way to send diagnostic information to INTEG is to send us a Snapshot. A Snapshot is a zip file containing all of the files from the JNIOR.
When a Snapshot is taken the Support Tool will make a telnet connection, run a few diagnostic commands and then download all of the files. The diagnostic commands that are executed will be logged to the snapshot.log file.
There are two commands that will generate files that are not normally in the file system.
The first in the iolog command. The iolog command will generate a jniorio.log file. This file shows the past 512 digital input transitions as well as the past 512 relay output transitions. Up to 16 relay outputs will be shown in the log. The relays on the expansion modules will be logged as well.
The second command is the netstat -c command. This command generates a network capture file in the temp directory. The network capture file can be loaded in a desktop application called wireshark. This file will grow up to 512Kb. The duration of time covered by the file depends on the amount of traffic that the JNIOR handles. Optionally filters can be applied to the capture buffer to limit the types of traffic that are logged.
To take a snapshot follow these steps:
- Open the Support Tool. Go to the Snapshot tab.

- Click on ‘Take Snapshot’.

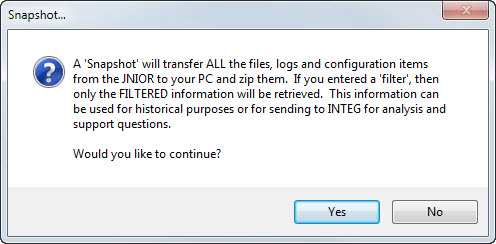
- Answer ‘Yes’ to the Snapshot confirmation dialog
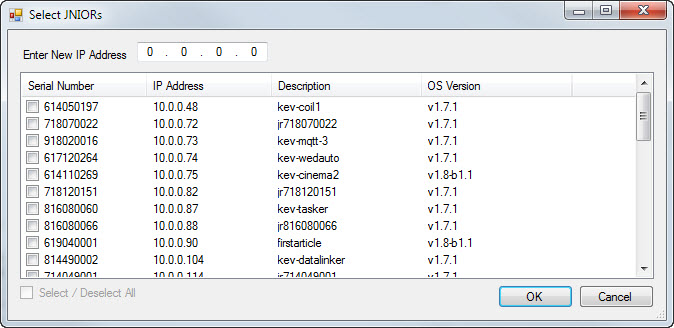
- Select the JNIOR you want to take a Snapshot from and click ‘Ok’.
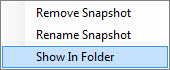
- Once your snapshot is compete find it on the left. It should be made visible once it is complete. Right click on the Snapshot file and select ‘Show in folder’. You could also expand the zip archive in the tree view or double click it to open in your loaded Archive application.